


Document Actions
gvSIG-Desktop. Installation guide.
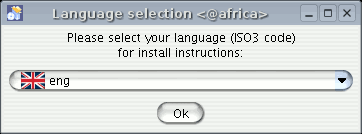
When the pre-requisites have been installed, a new window will appear in which you can select the language you wish the installation instructions to be shown in.
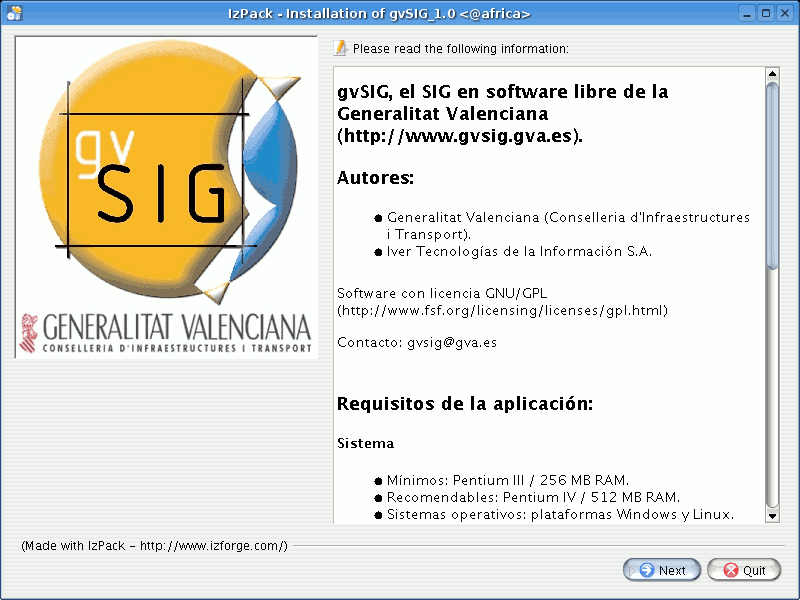
An introductory window then appears. Read the information and click on “Next” to continue.
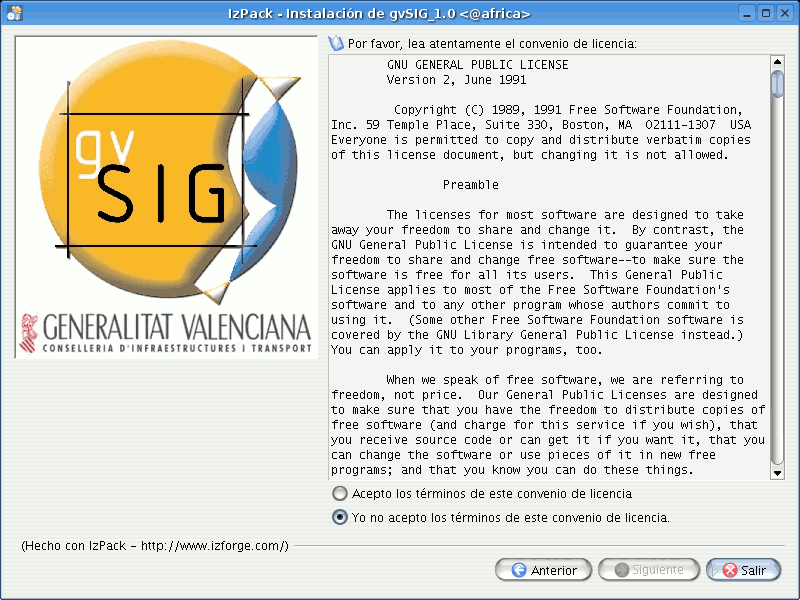
Read the gvSIG licence carefully and select “I accept the licence terms” if you agree with them. Click on “Next” to continue.
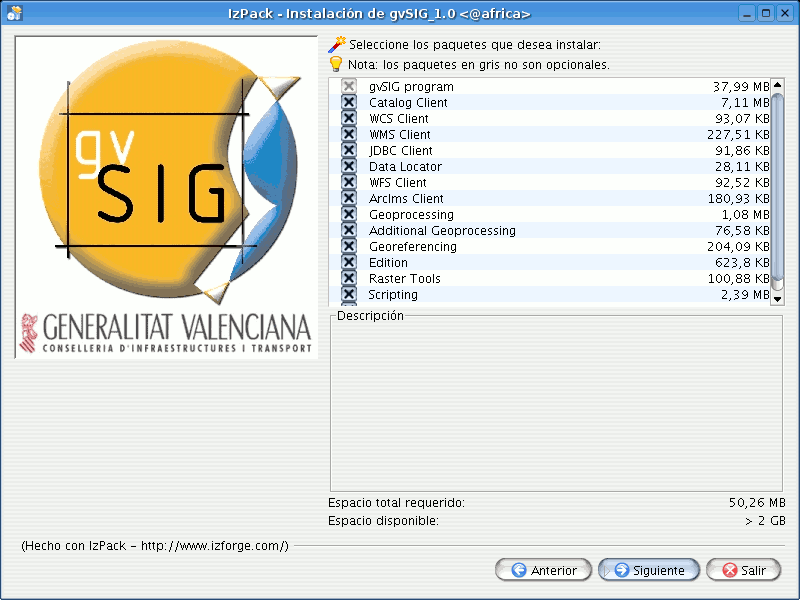
Select the gvSIG extensions you wish to install and click on “Next”. Remember that greyed out packs are required.
Select the directory you wish to install gvSIG in and click on “Next”.
A default directory appears in the window. If you wish to change it, click on “Browse” and find the new directory you wish to install gvSIG in.

If the directory already exists the following window will appear:

If you decide to look for another directory, click on “No” and return to the “Browse” button.
If the directory does not exist, another window will appear:
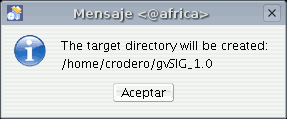
Click on “Ok” if you wish to create the directory.
If you click on “Next” the installation will start.
A window will then appear with the installation progress.
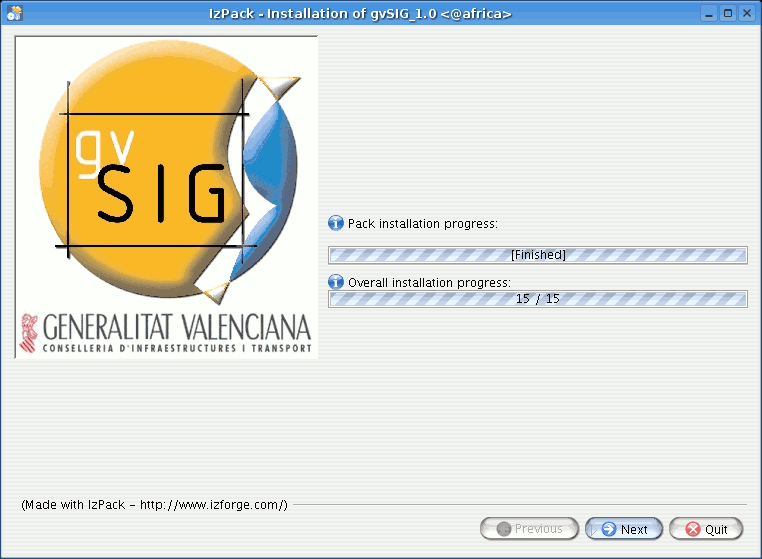
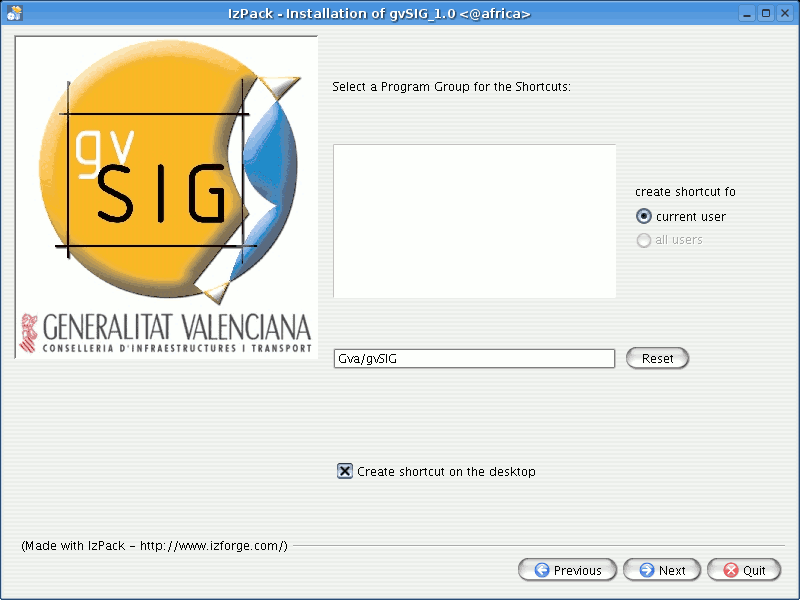
When the installation has finished, click on "Next". A window will appear to indicate where to create the shortcuts to gvSIG.
(If you do not modify the default options, a shortcut to gvSIG will be created in the Start menu and another will be created on the desktop).
If you click on “Next” the following window will appear.

Cached time 11/21/13 07:28:25 


